Hilbert Curve Lamp
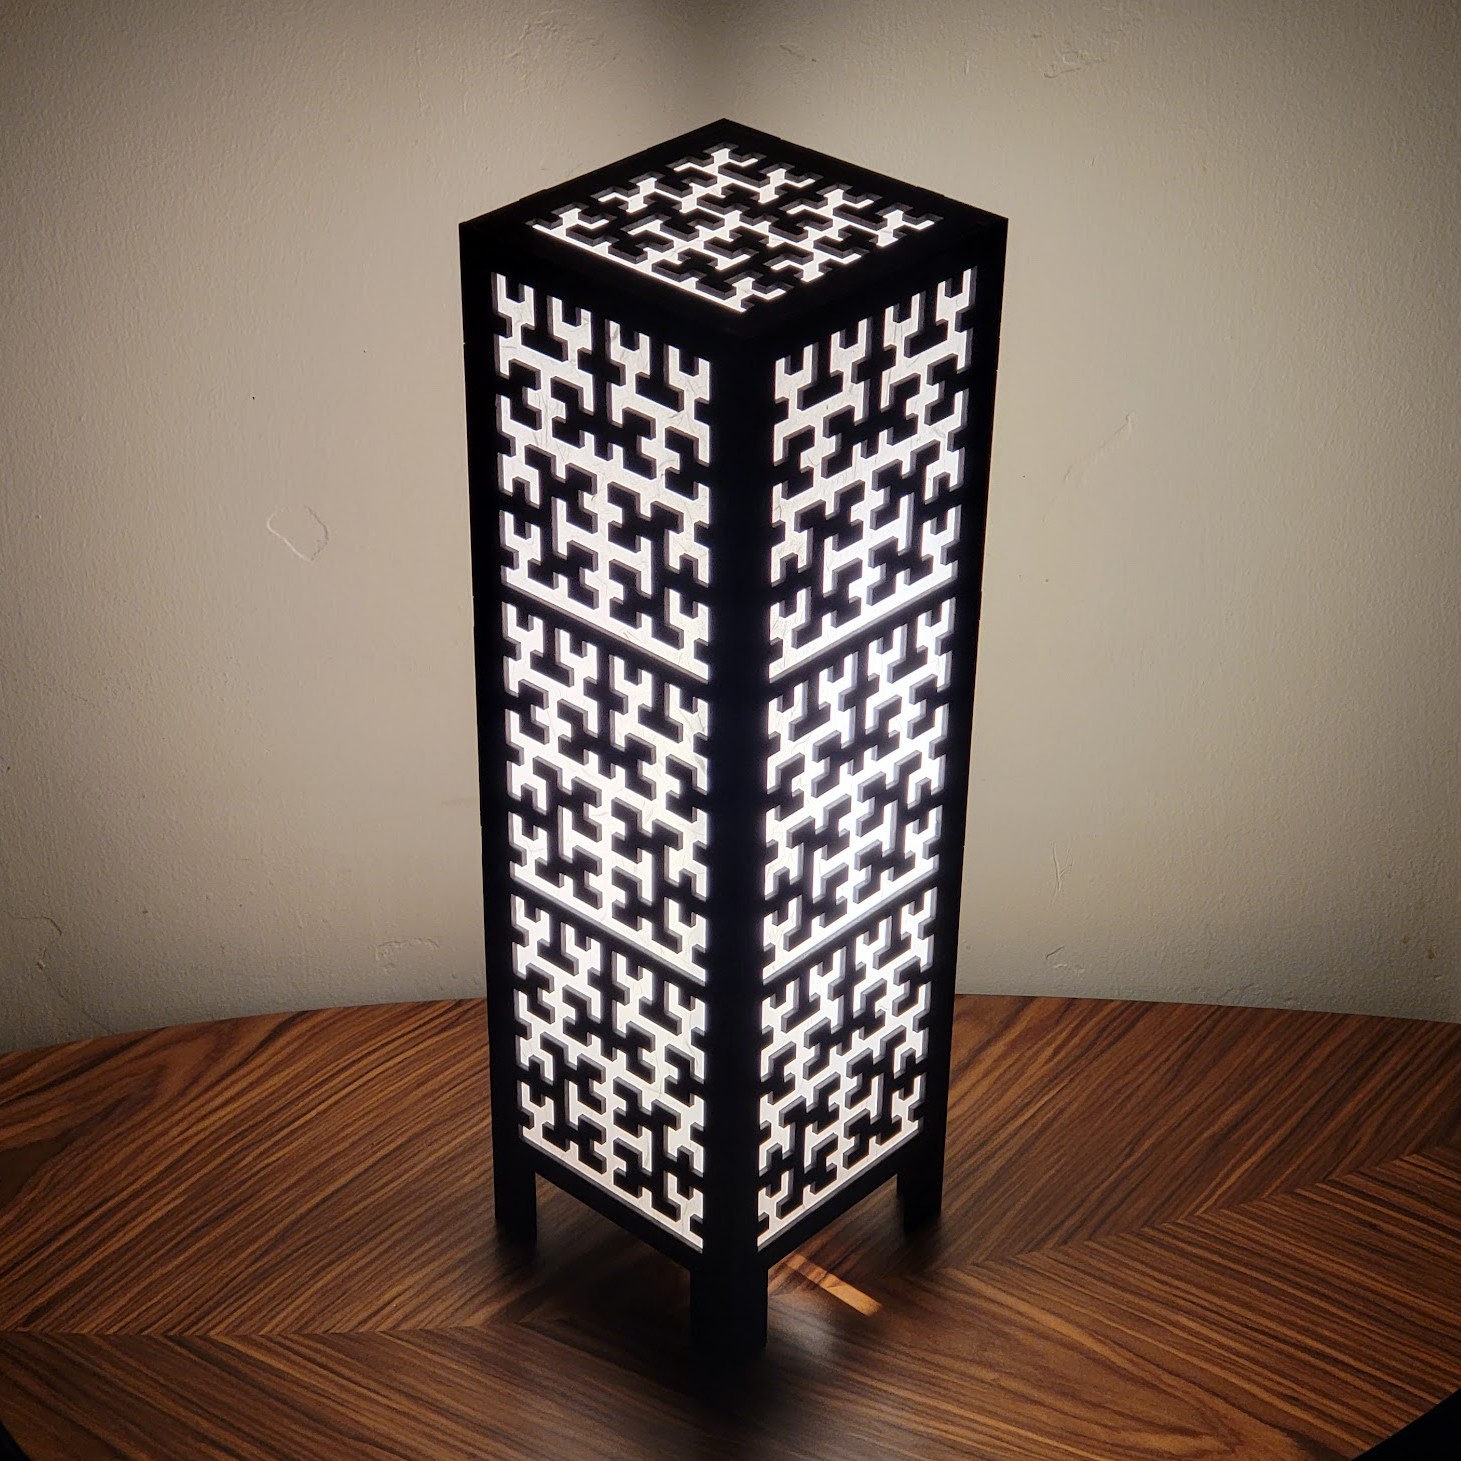
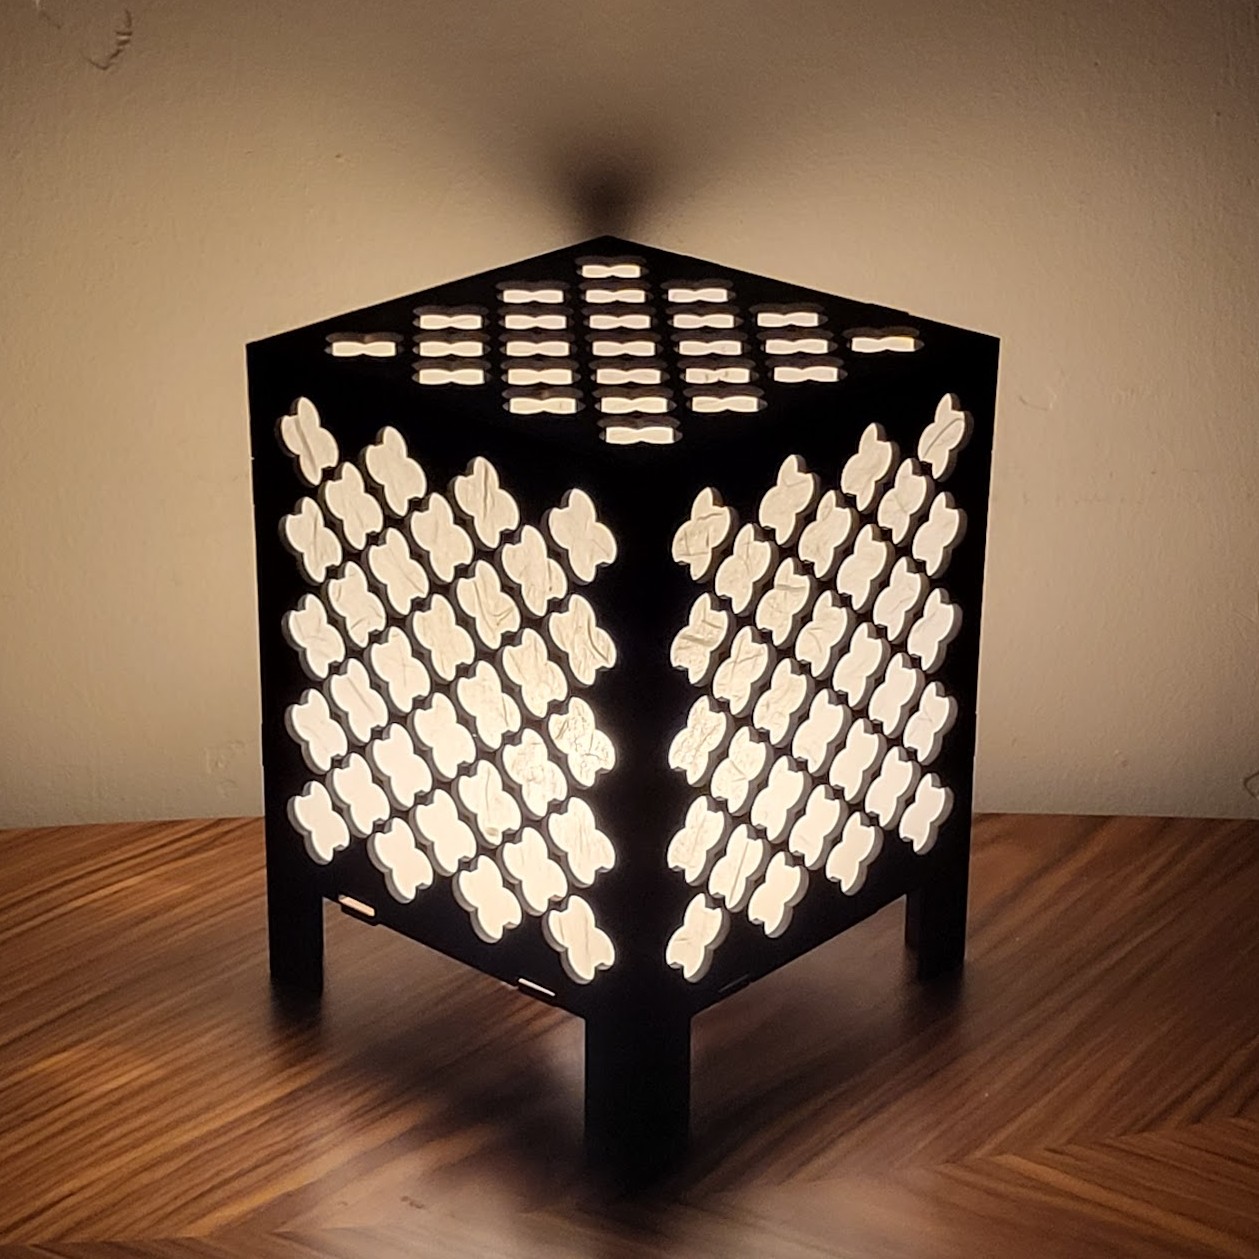
This project was inspired by Japanese Andon lamps, but by using a lasercutter I can create far more intricate patterns. This cutout is a tiled Hilbert Curve with N=16.
I wrote a python script to parametrically generate DXF files of hilbert curves so that I wouldn’t have to draw them by hand in CAD.
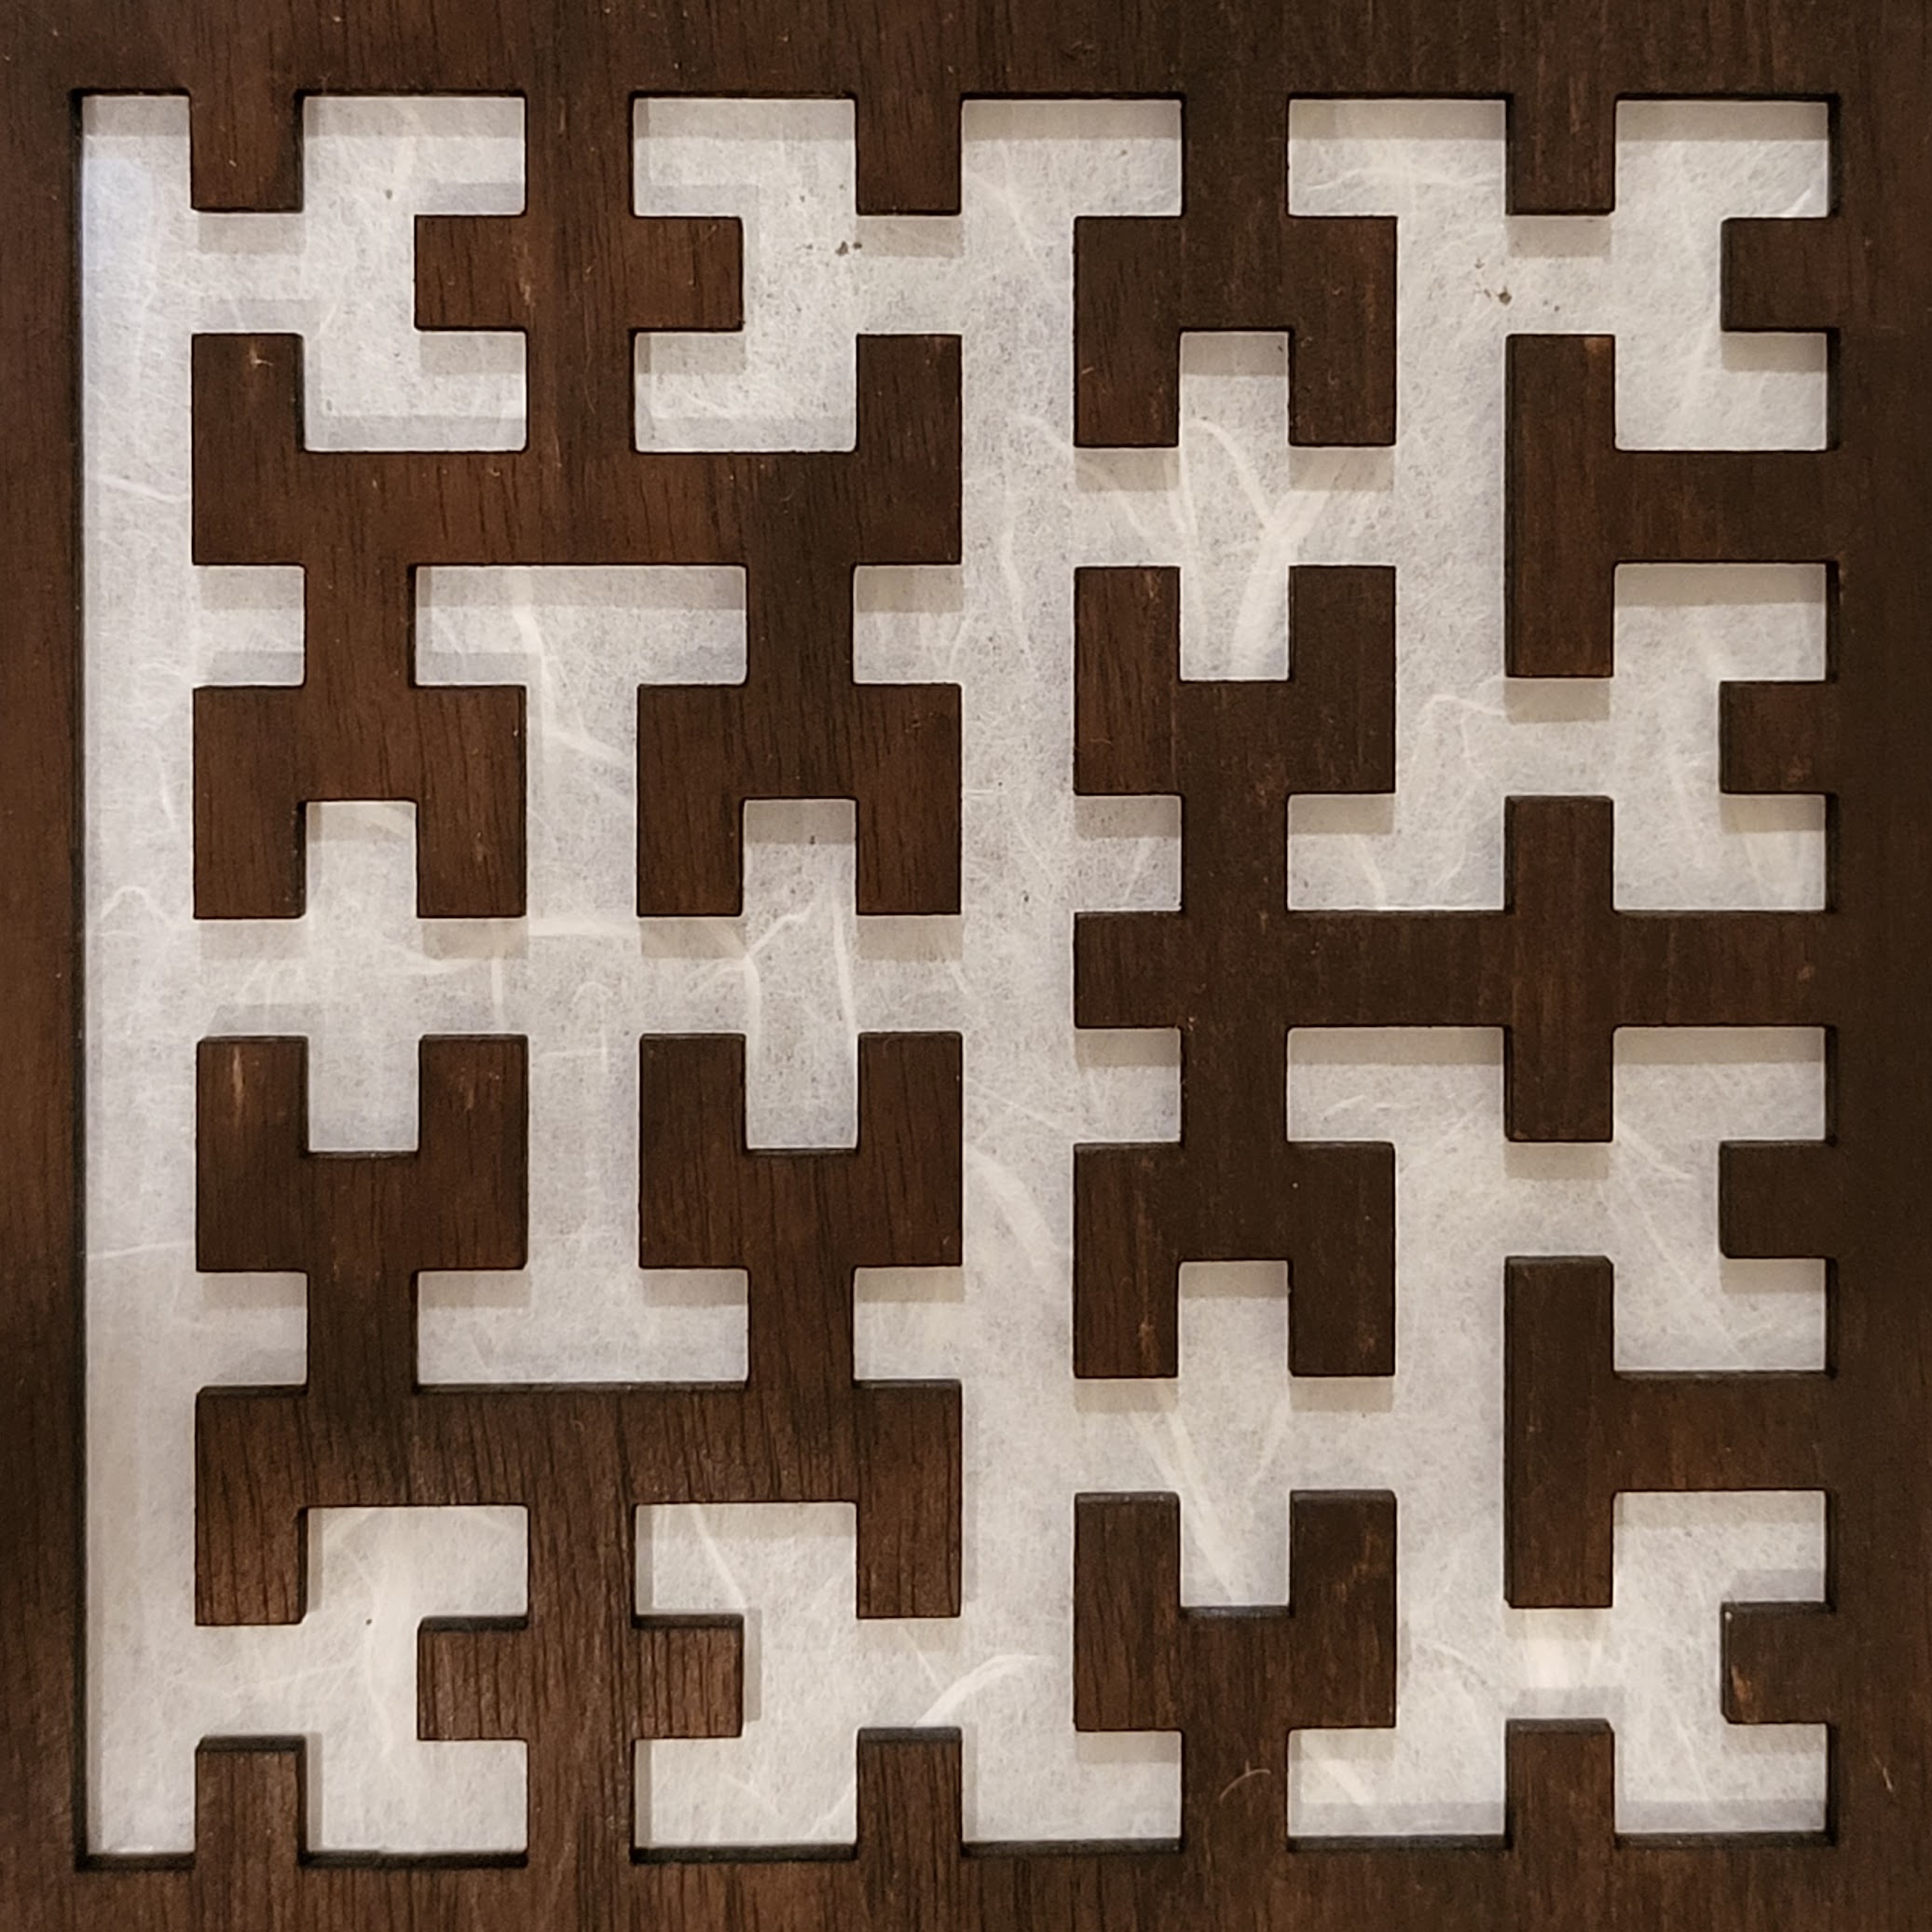
Each face is backed with traditional Japanese Mulberry paper, which gives a great textured softness to the light.
The faces interlock for stability. I designed it in OnShape first to make sure that I got all the interlocks correct before cutting.
It was quite a fun design to cut!
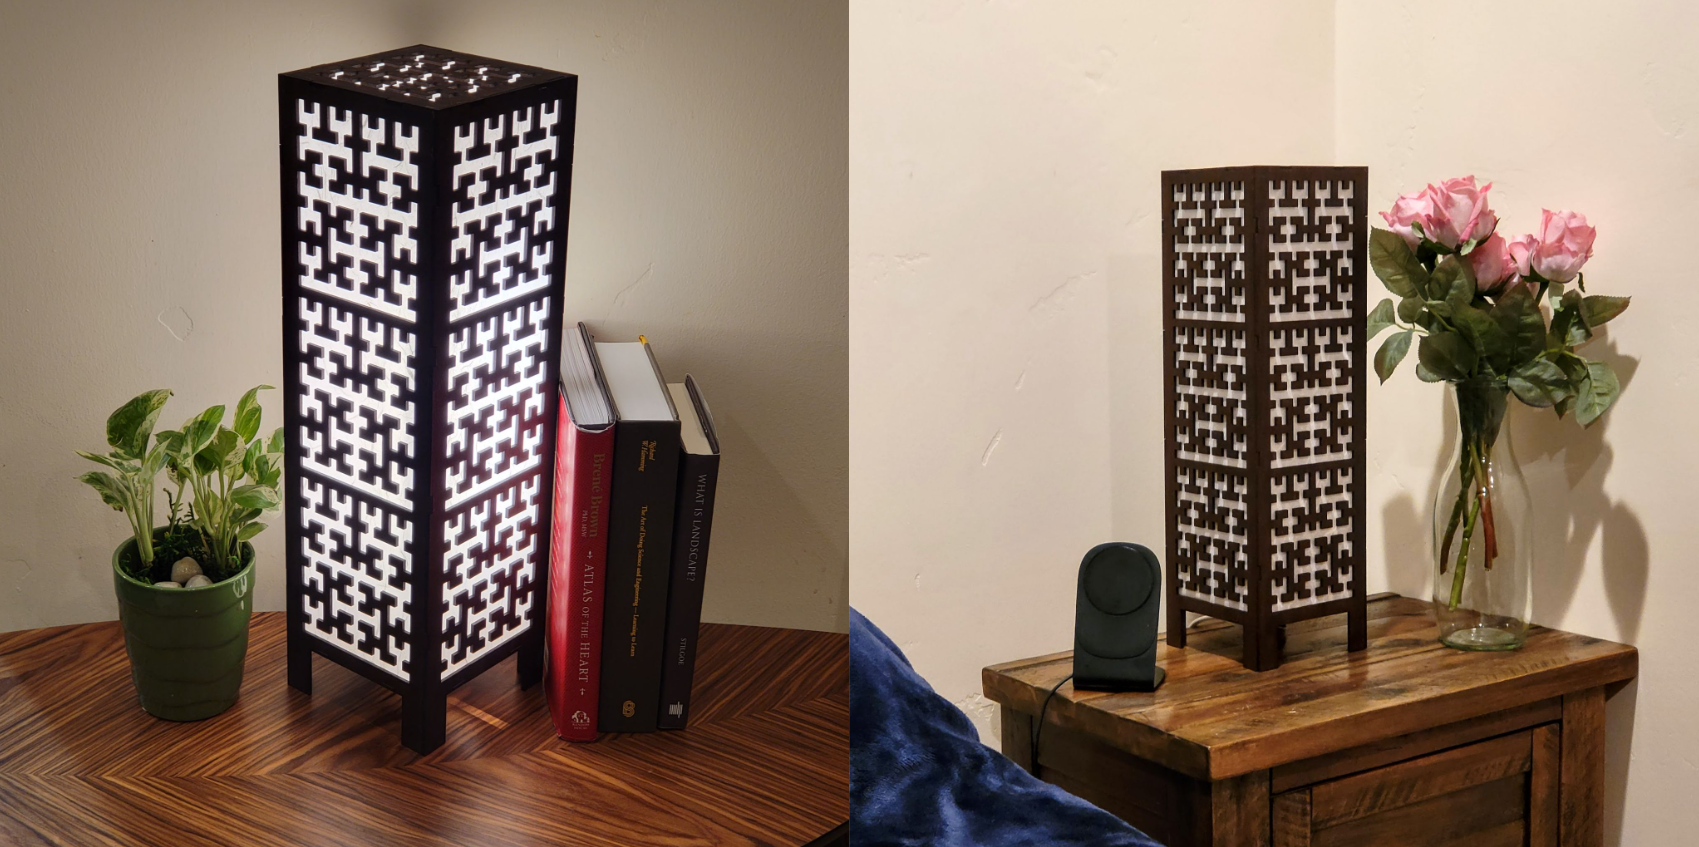
The lamp on a tableside and as a bedside light.
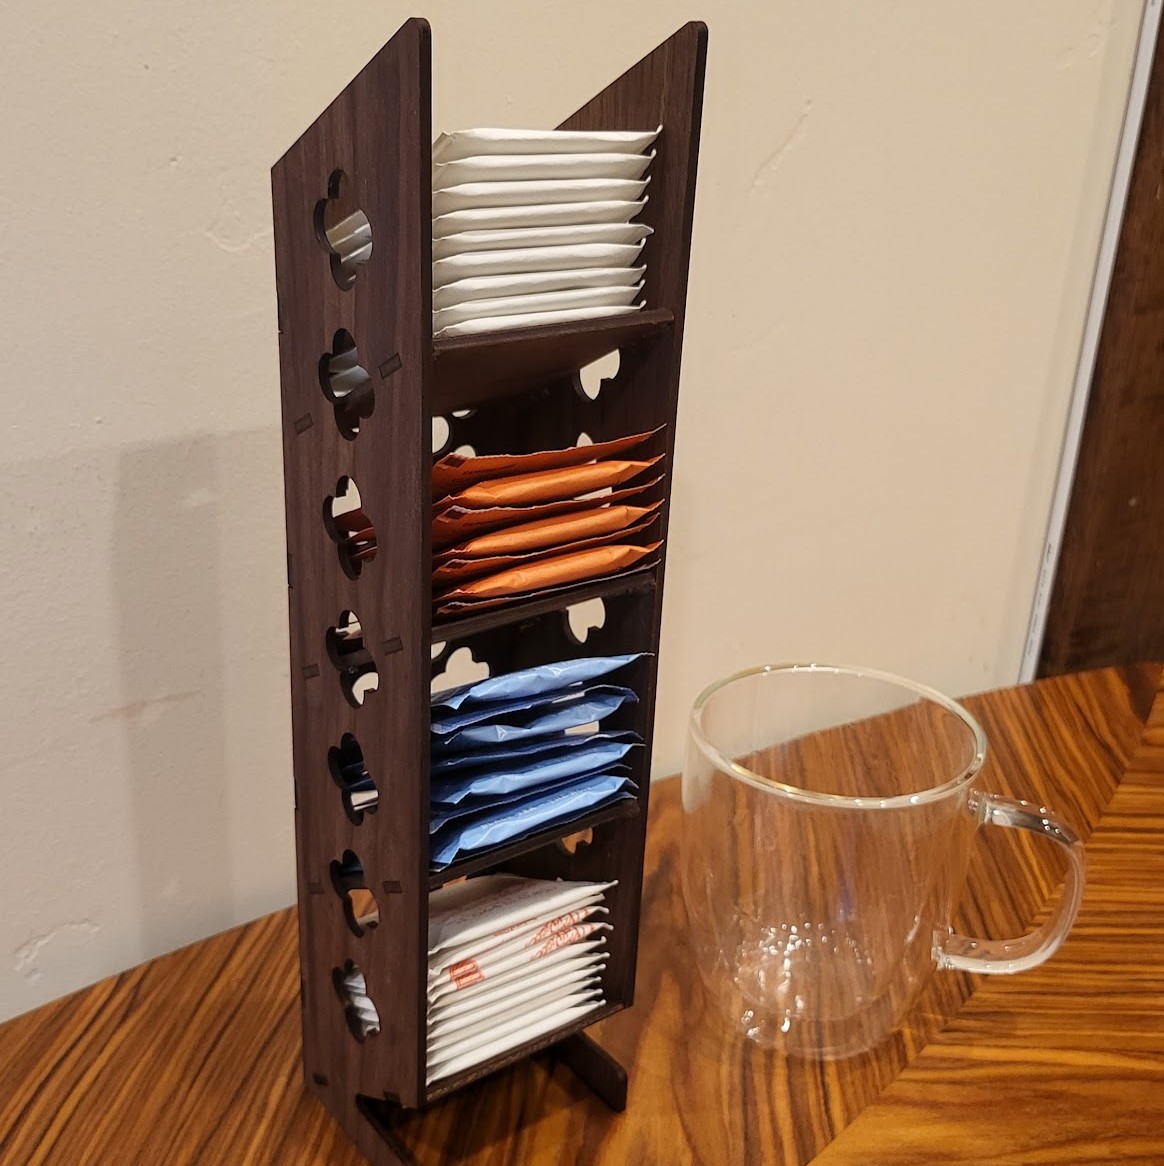
Tea Organizer
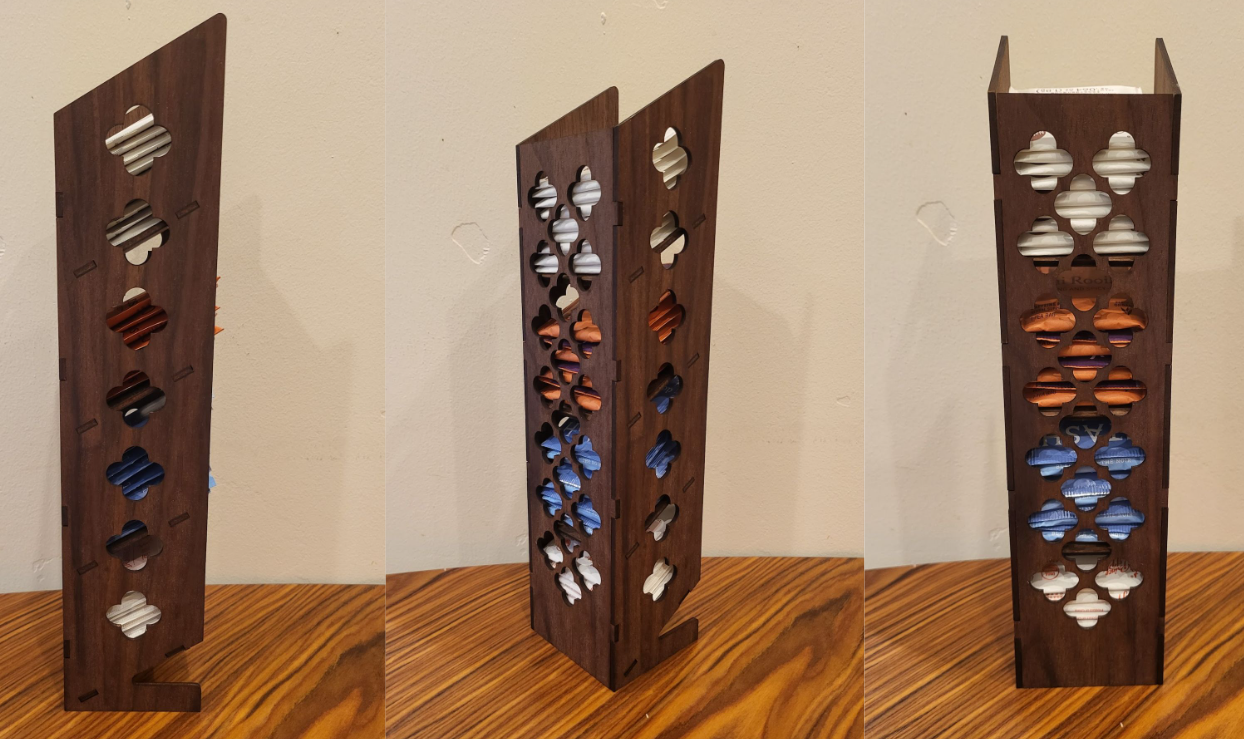
Side and back views, showing the interlocks and pattern.

A closeup of the interlock. If I designed this again, I would probably change the pattern so it never overlapped with the dividers.
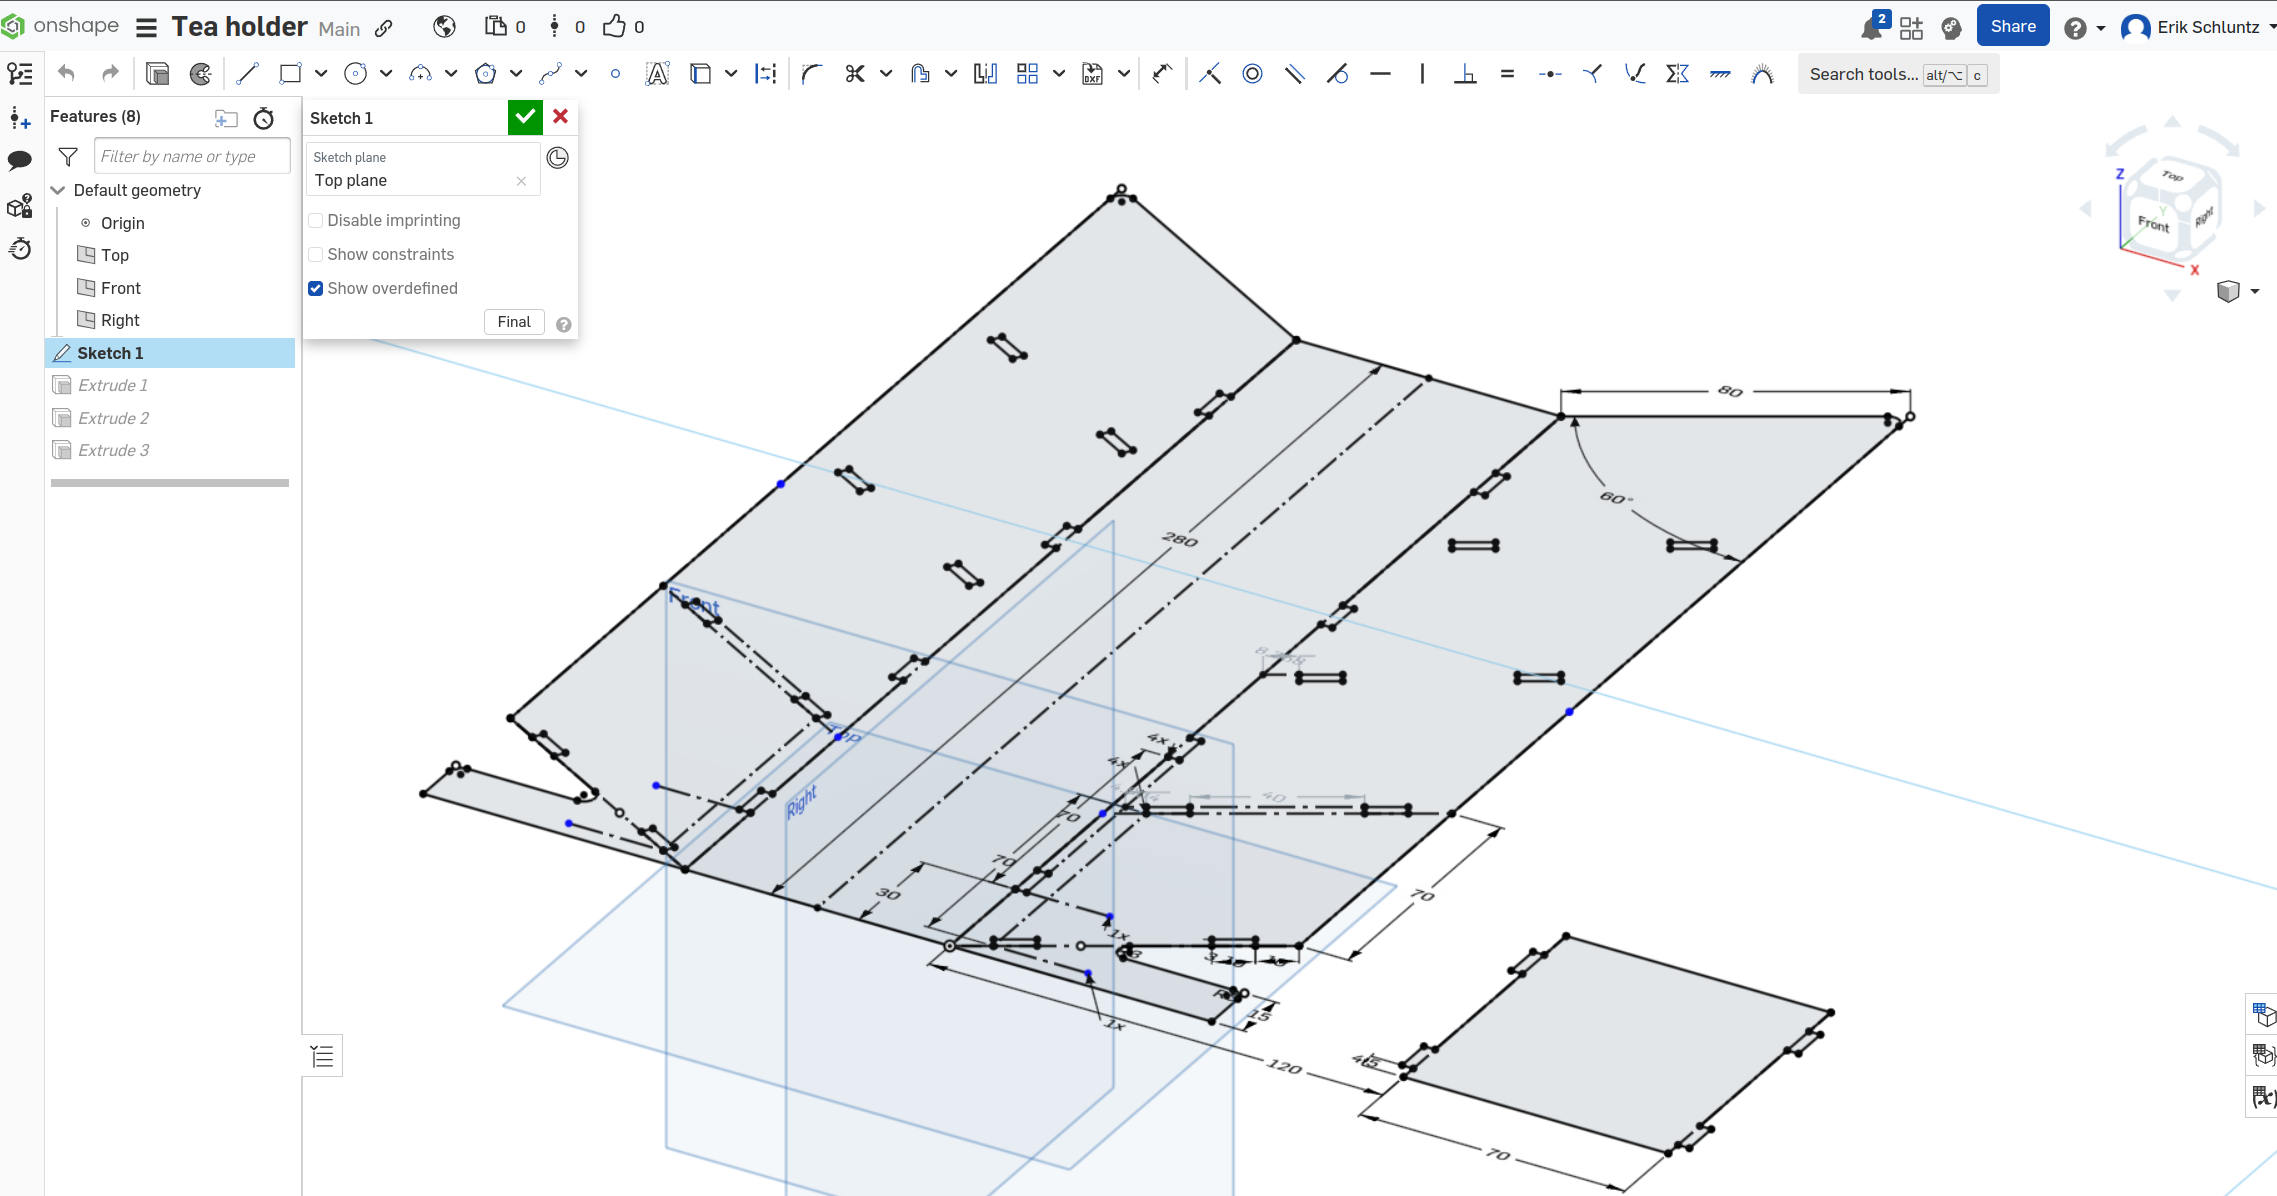
I designed it to be cut with the pieces already interlocked, saving time and ensuring that there’s no wasted material between parts.
Clover Lamp
This was a smaller variant of the Hilbert lamp for my wife. This picture does a good job of capturing the texture of the Mulberry paper.
Laptop Stand
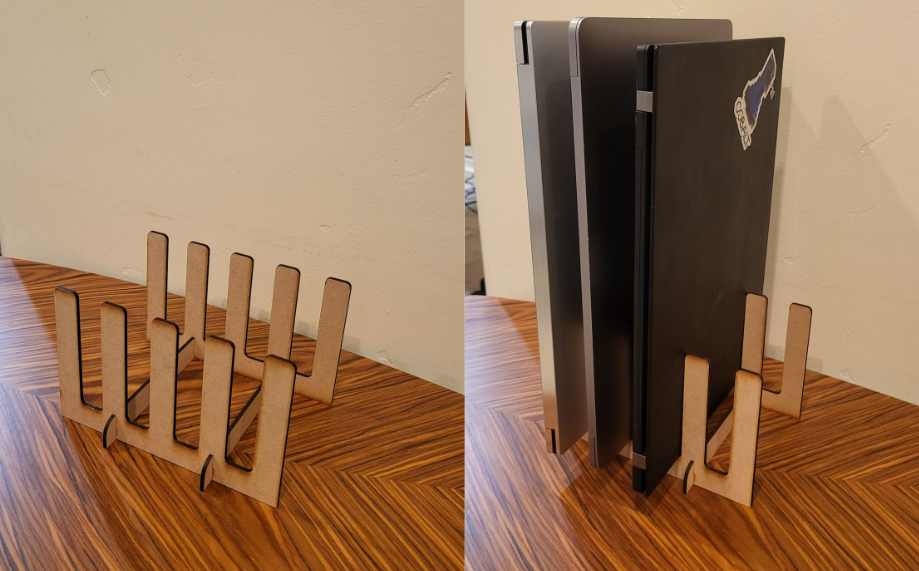
We have too many laptops at home, and this was much better than them lying around, waiting to get stepped on or forgotten! Arguably my most practical project, and hence the least decorative.
Liquid Cooling Prototypes
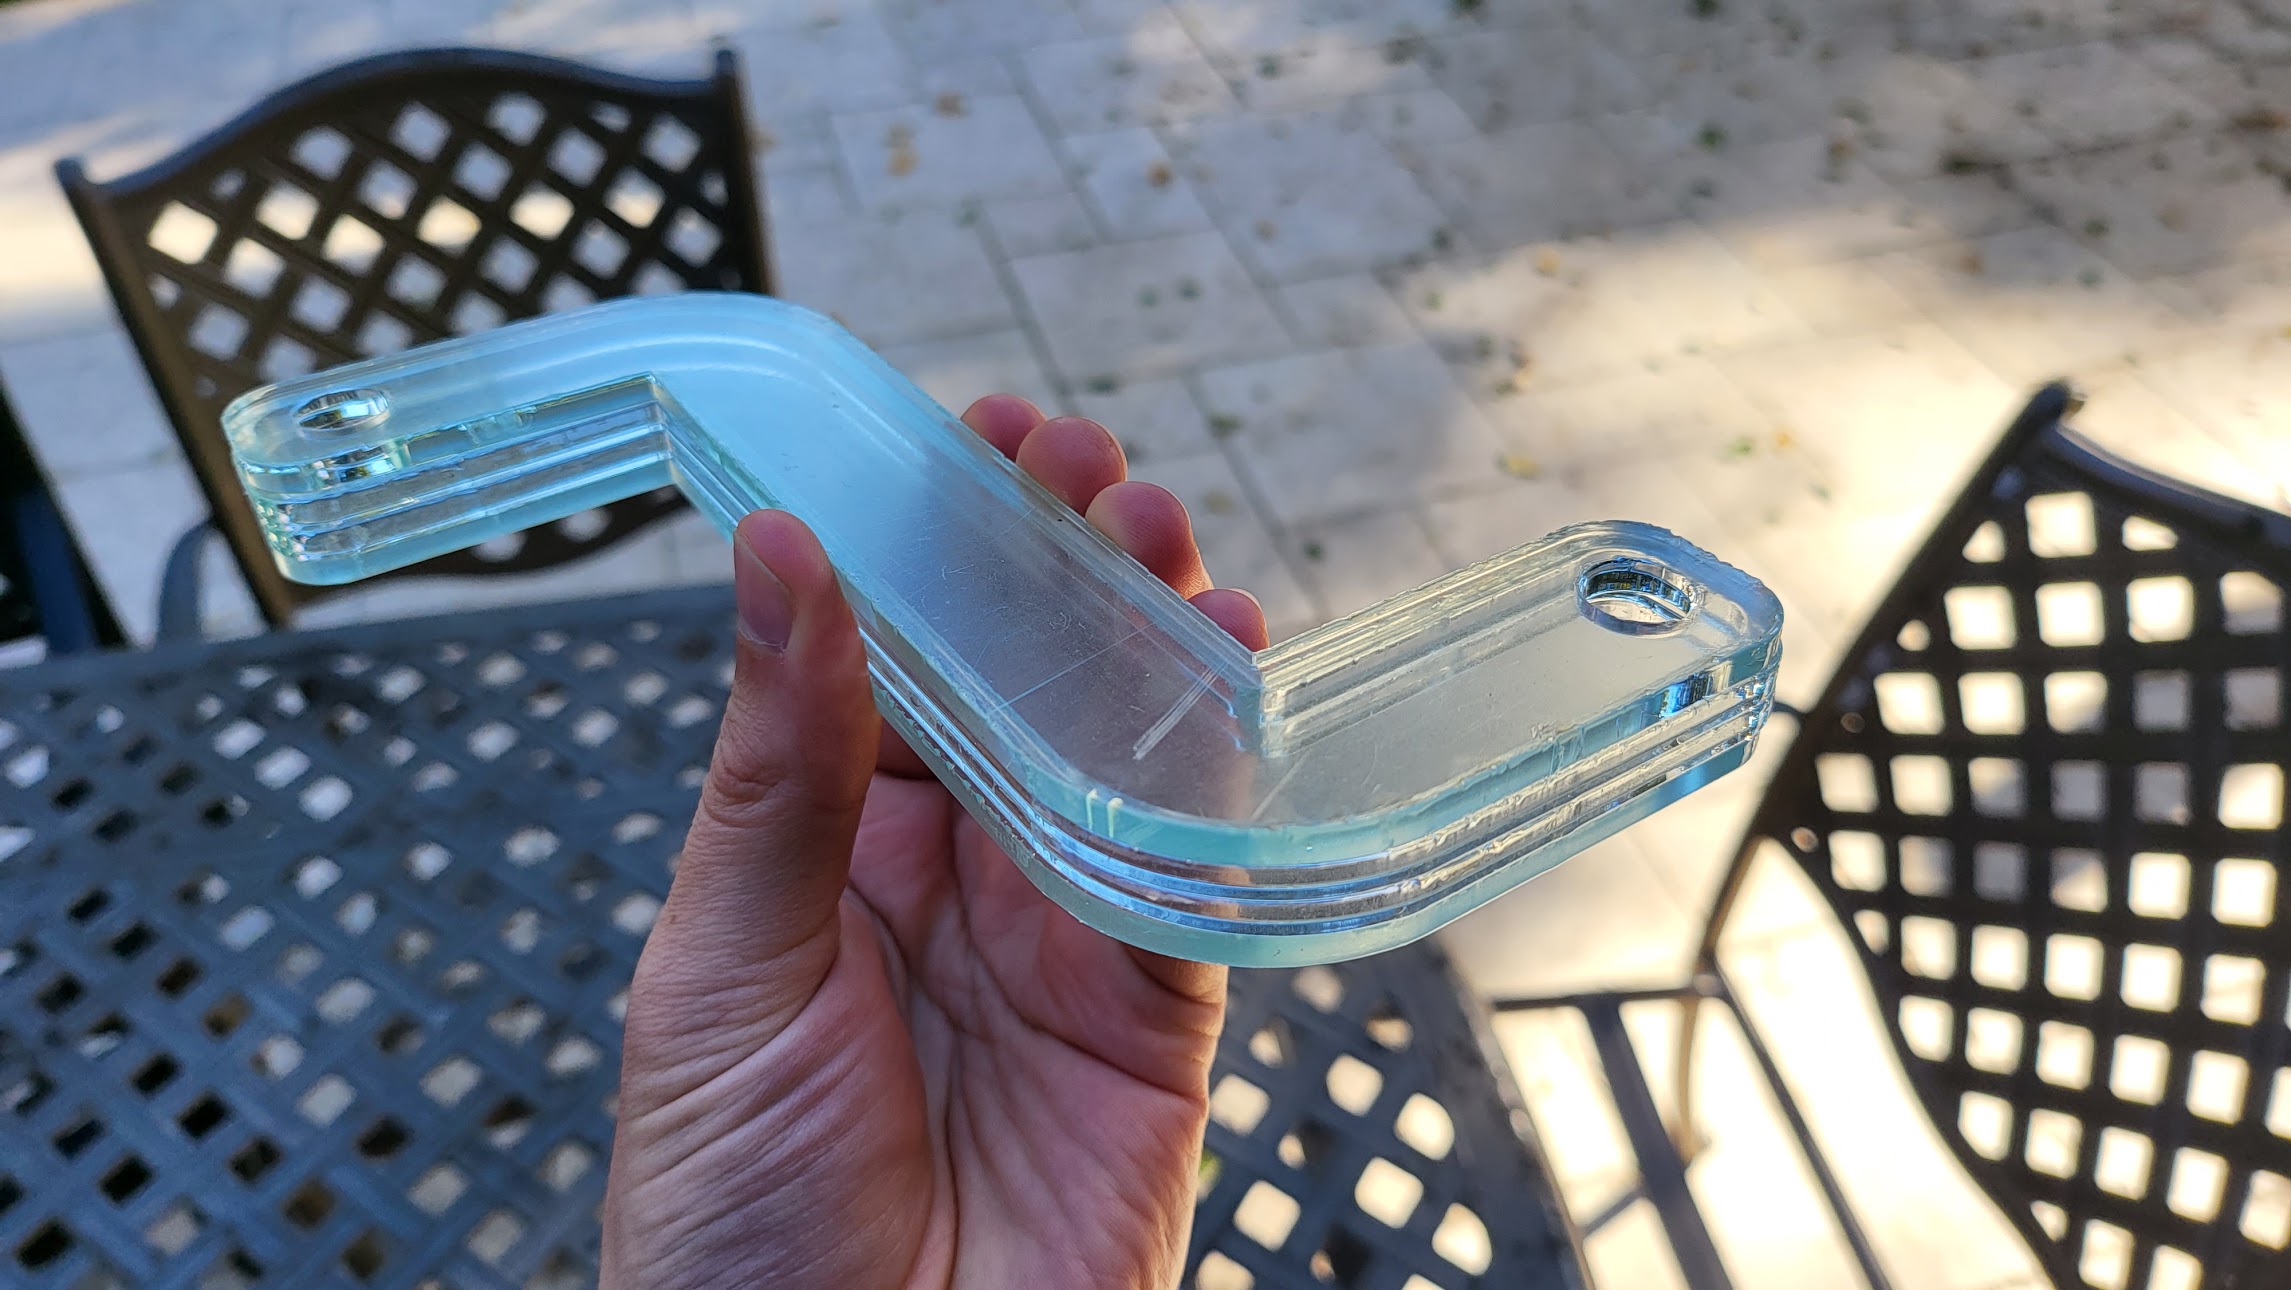
I explored lasercutting rigid channels out of acrylic for a liquid-cooled flat-mount computer I was working on, but ultimately abandoned the project. The laser cutting process introduces a lot of heat stress to the acrylic, which then causes crazing when used with most adhesives. It was very hard to get a clean finished look after joining, AND rigid connections were WAY harder to work with than flexible tubing.
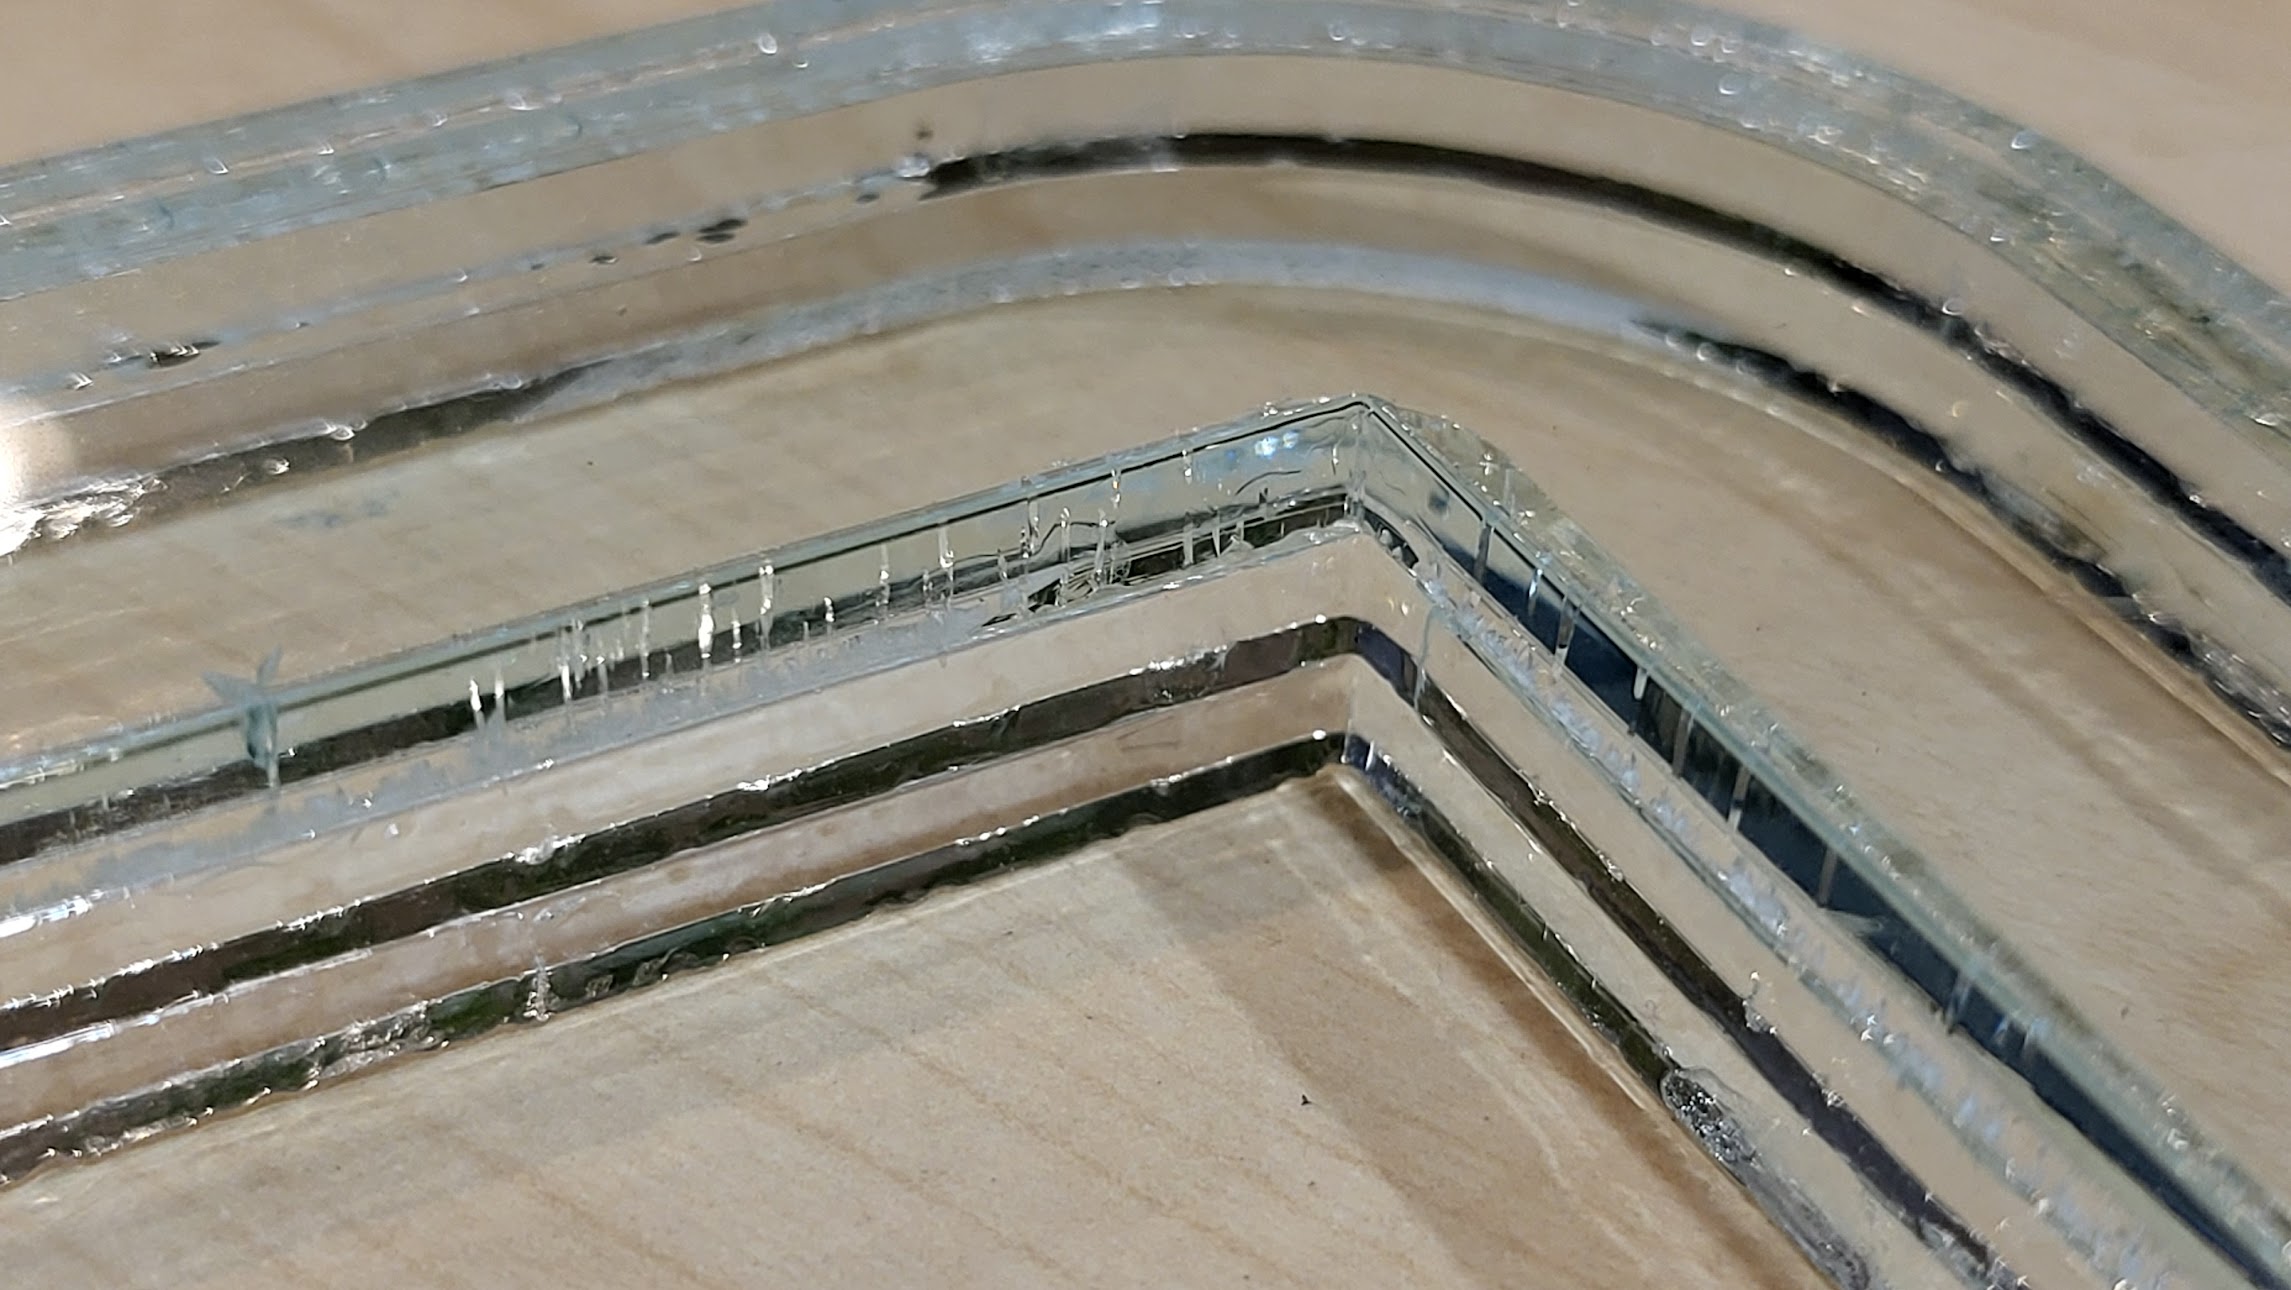
Up close you can see the crazing cracks that develop after gluing.
IoT Button Panel
With a lasercutter, it goes without saying that every electronics project needs to have a beautiful wooden box.
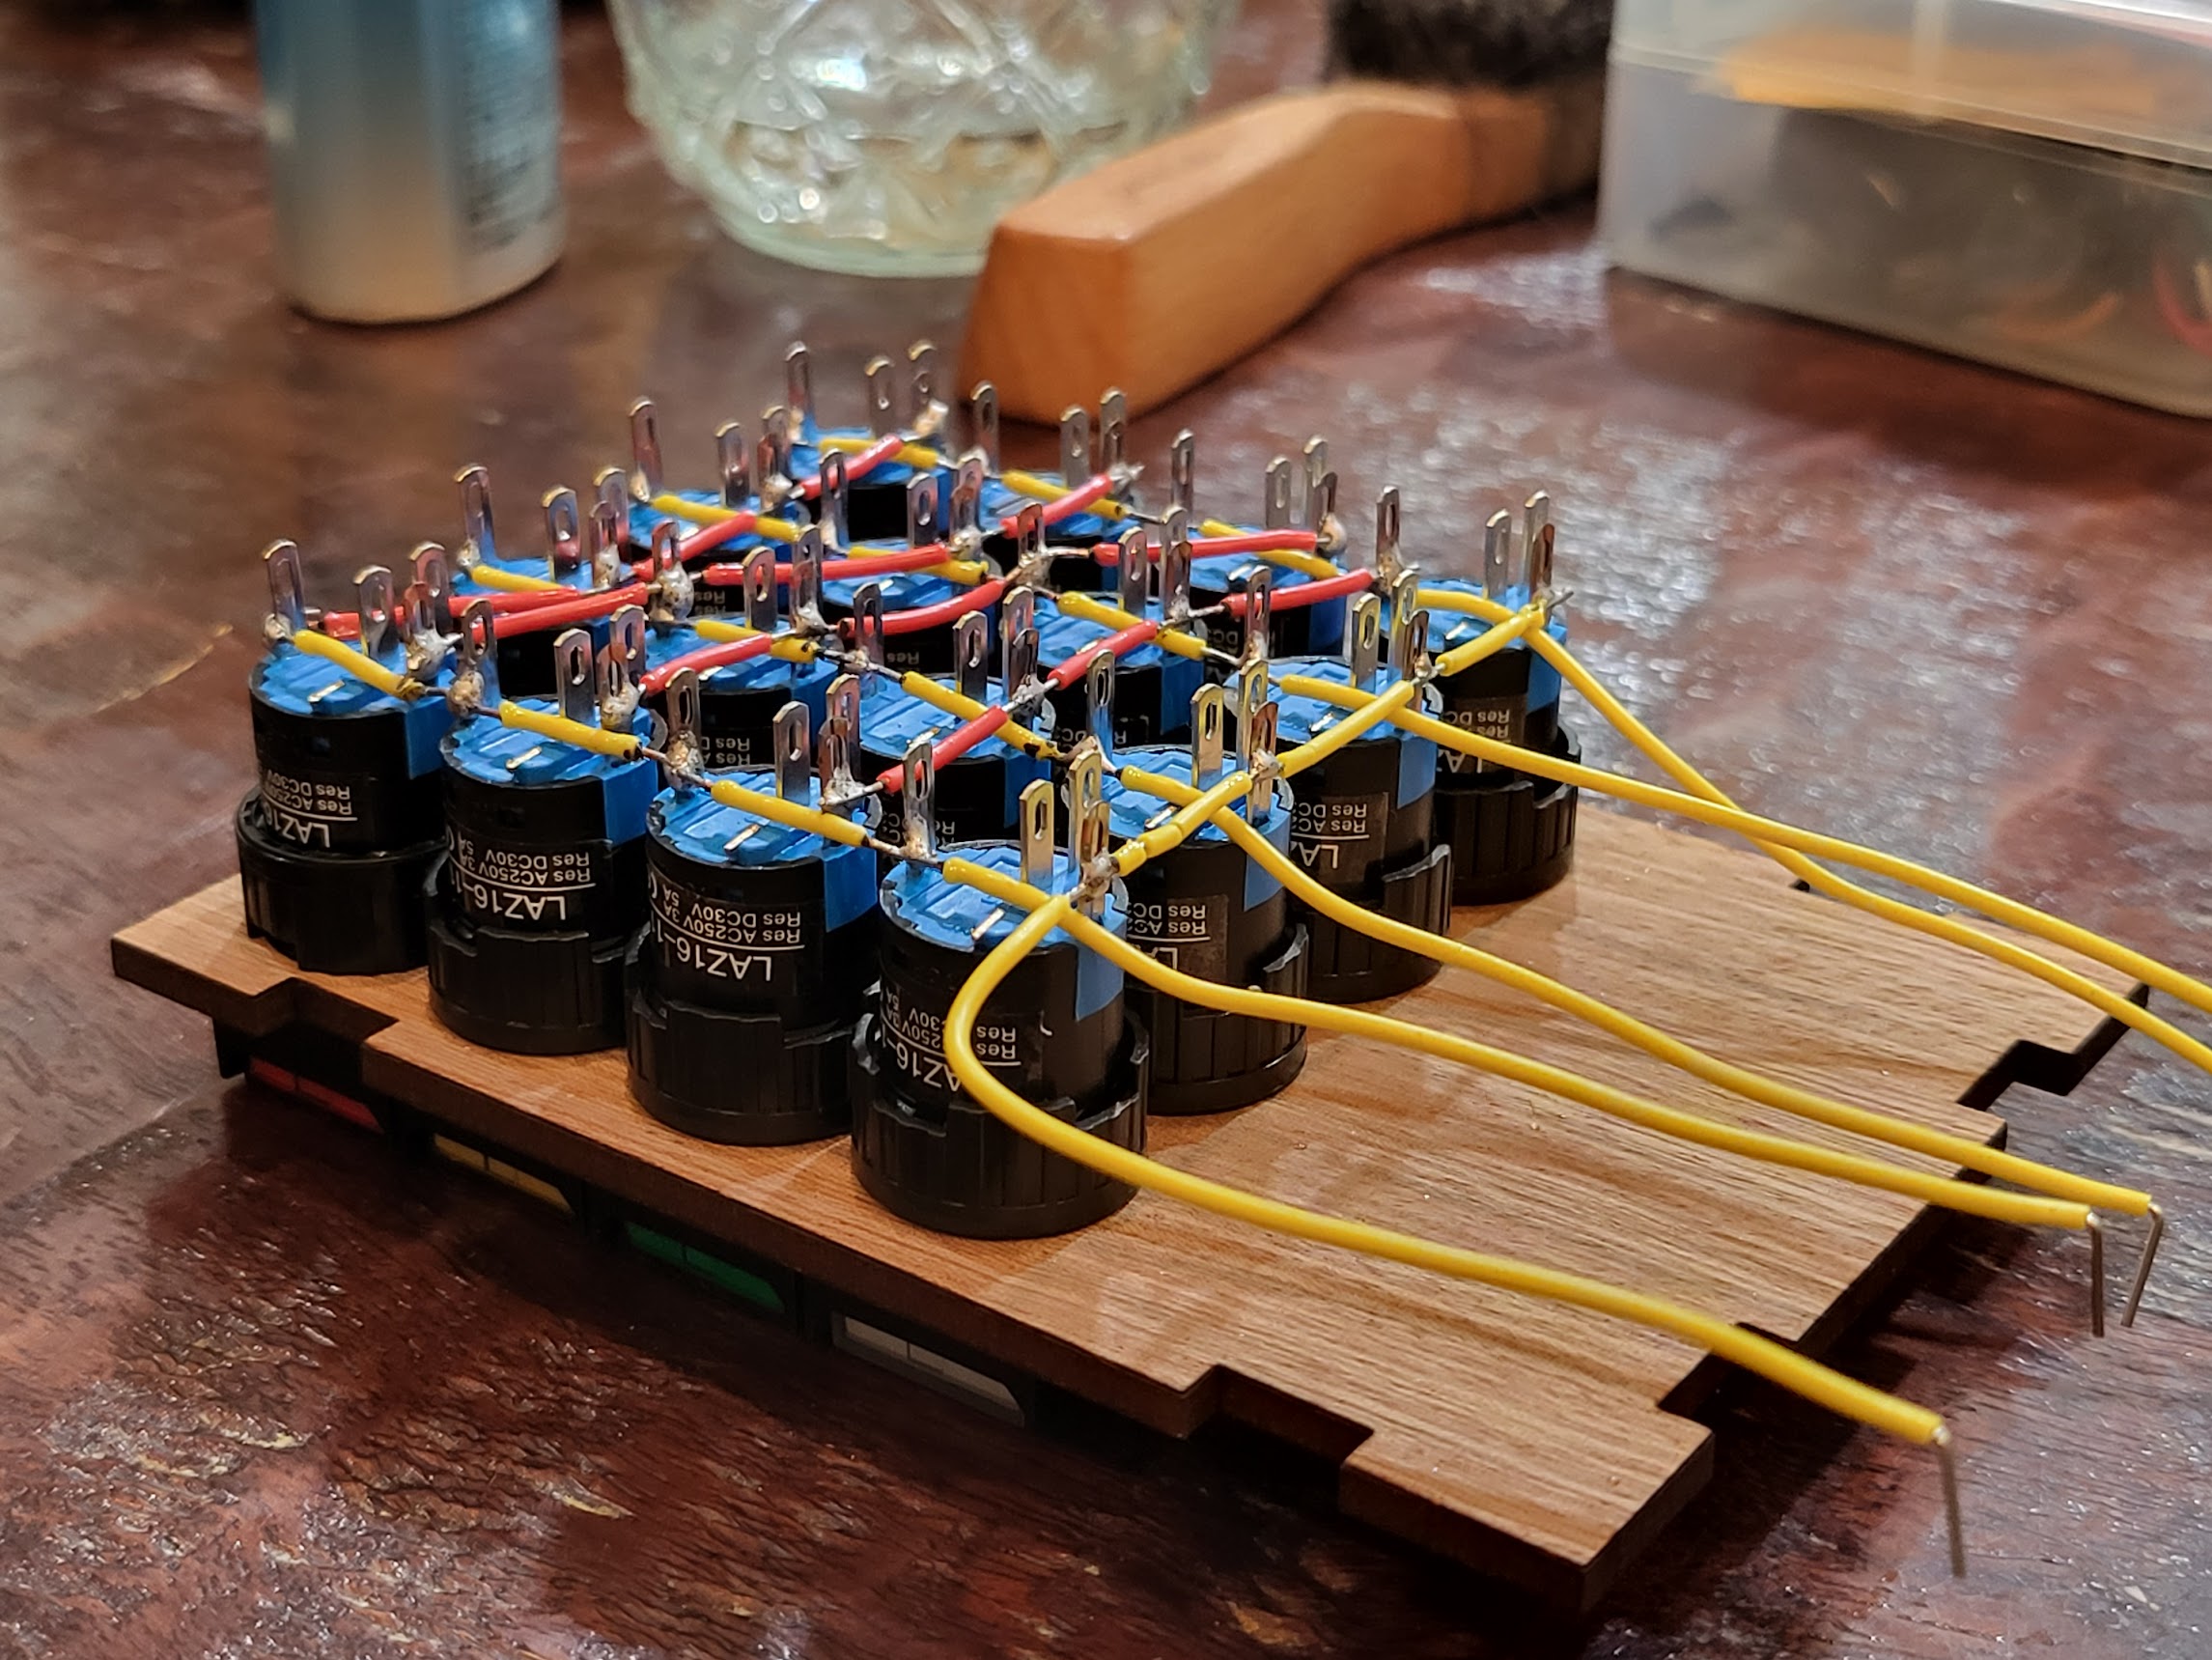
One complication was that the buttons needed to be assembled around the front panel, so the box had to be made first, not last. More on that project here (link TODO)!